Page 3 of 3

Re: Gear knob restoration

PostPosted: Thu Jun 06, 2019 12:41 pm
by denicholls2
Once you've got the badge out, just paint the face completely with flat black of your choosing using a model brush. Or if you want to practice your skills, get a 0000 brush and a magnifying light and paint around them. You will be able to get the raised lettering back when it dries with a toothpick or your fingernail. Use 2 coats before engaging in that.

My problem is getting the badge to stay in the knob. Last I knew it was floating about the interior, may be lost now...

When you're happy, paint the whole thing including the badge with polyurethane. I wouldn't bother with 2-part (which is pretty toxic), but whatever. Then 0000 steel wool, recoat, steel wool ... until you are almost satisfied (because some of us will never quite be. :))
Re: Gear knob restoration

PostPosted: Thu Jun 06, 2019 1:58 pm
by JonB
vincereynard wrote:
JonB wrote:
vincereynard wrote:Just to confuse things - the background on my gearknob is yellow.


Yours has a Lotus logo on it, not a gate pattern, no? And it is an aftermarket aluminium part, IIRC..


That would just be being facetious, I would never do that!


Of course not, Vince! :D

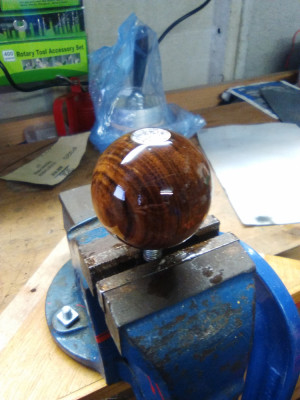
So here we are after some staining:

img_5542.jpg and


Definitely getting there.

Re: Gear knob restoration

PostPosted: Fri Jun 07, 2019 10:18 am
by elanfan1
Story Jon but imho that?s way too dark. What are you going to do about the little holes just flood them with varnish?

Re: Gear knob restoration

PostPosted: Fri Jun 07, 2019 12:18 pm
by JonB
Hi Steve

Noted. But it's light years ahead of when it started in terms of condition and the colour will be a good match for the new dashboard. That's what I am hoping to achieve here - if the knob was light it would stick out against the dark dashboard. It is pretty clear to me that this is a very dark hardwood. When wet, it looks like mahogany. Were all the Lotus knobs made of the same material? I tend to doubt it.

As to the holes, they are not very visible to the naked eye. Close ups are very unforgiving. I will lay down a few coats of clear and see where we are. Probably have to sand and spray a few times to get the lovely glassy finish I am seeking.

Cheers
JonB

Re: Gear knob restoration

PostPosted: Tue Jun 11, 2019 2:50 pm
by JonB
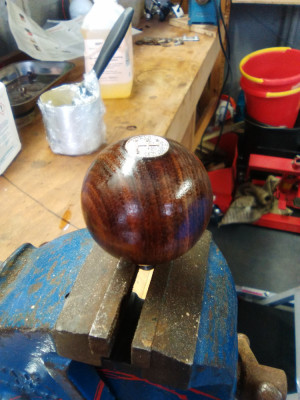
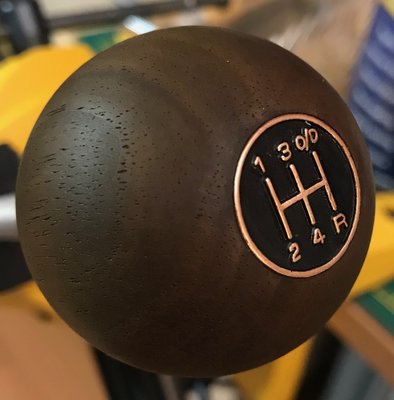
And here we are.

img_5549.jpg and


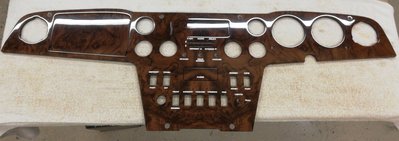
A Steve says, too dark, but compare with the new dash and it looks good. Come too think of it, it looks like Vince's.

new-dashboard.jpg and


In the end I decided not to go with a super high gloss because a) it's easier to do it like this and b) it feels better (actually looks like patina).

Re: Gear knob restoration

PostPosted: Wed Jan 06, 2021 3:48 pm
by NedK
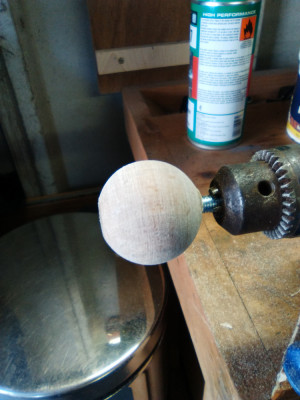
I went for Rustin's on mine, after putting it on a slow revolution drill and lightly sanding off all the old varnish and general gunk.
Quite a few coats of Rustin's in the end, but I'm happy with the result.
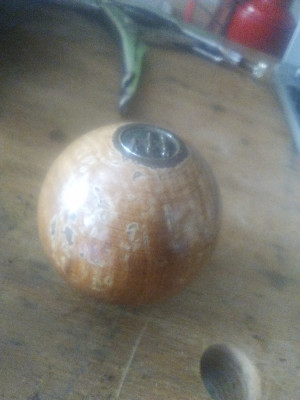
IMG_20151002_150552.jpg and

IMG_20151002_151719.jpg and

IMG_20151003_132501.jpg and

IMG_20151014_153310.jpg and

Re: Gear knob restoration

PostPosted: Thu Jan 07, 2021 12:04 am
by The Veg
Looks GREAT Ned!

Re: Gear knob restoration

PostPosted: Thu Jan 07, 2021 2:10 am
by h20hamelan
vincereynard wrote:
S3310003.JPG


The ali. one is just a spare I was playing with - to see if it made any difference.


How did you get the "gold" as opposed to the silver steel look

one comment on sanding with the grain of wood, its preferred. me's don't think across grain as that does not make the wood smooth (best for material removal). Then again, as I just finished mine with marine Spar varnish. It is very slick, I might add some alligator or snake skin so me's sweaty palms don't bruise thy precious knuckles.

Re: Gear knob restoration

PostPosted: Thu Jan 07, 2021 2:49 pm
by jono
Nice work - the Rustins Plastic Coating is excellent stuff, I used this to refinish a dash once and it came up great.

I also have a gearknob resto to tackle at some stage - does anyone know if it's possible to extract the metal threaded insert from the wooden knob?

Reason being is the metal insert has corroded/oxidised and the expansion has caused a tapered crack to develop in the wood. I would like to remove the insert, clean it up and glue and clamp the knob with it removed in order to get a tight joint?

Re: Gear knob restoration

PostPosted: Thu Jan 07, 2021 6:32 pm
by mbell
jono wrote: does anyone know if it's possible to extract the metal threaded insert from the wooden knob?


It is on my 5 speed knob, as it has come lose/out by it self.

It just a pressed fitted insert so it should pull out. How easy or how much damage is done in removing it will depend on how well the glue is stuff etc.

Re: Gear knob restoration

PostPosted: Thu Jan 07, 2021 6:38 pm
by h20hamelan
what are the chances if you remove the varnish/coating. and soak in warm water, the wood should expand and the glue loosen.
question would be, does the existing crack get worse. my guess is no.

Re: Gear knob restoration

PostPosted: Thu Jan 07, 2021 8:15 pm
by elanfan1
You could try drilling up through the insert to the underside of the badge then tap it out.

Re: Gear knob restoration

PostPosted: Thu Jan 07, 2021 10:55 pm
by RichardHawkins
Drilling up through the insert and tap it out is what I did. No damage to the wood, and the badge appeared to have contact adhesive holding it in place. I needed the badge out to have it re enamelled.

Richard Hawkins

Re: Gear knob restoration

PostPosted: Mon Jan 11, 2021 9:39 am
by JonB
h20hamelan wrote:How did you get the "gold" as opposed to the silver steel look


On the 5 speed the gate diagram is electroplated copper, and mine had worn away so all I had was copper. Looked fabulous though.

one comment on sanding with the grain of wood, its preferred. me's don't think across grain as that does not make the wood smooth (best for material removal). Then again, as I just finished mine with marine Spar varnish. It is very slick, I might add some alligator or snake skin so me's sweaty palms don't bruise thy precious knuckles.


The gear knobs are made of very hard wood, so in practice cross grain sanding doesn't hurt, as can be seen here.