Donels wrote:Veg, I have contemplated re-veneering my dash but have been put off by what I?ve read. Could you tell me how you did yours please.
Dave,
To expand a bit on what GLB said, it's fairly simple and the fibre- or paper-backed veneers are the easiest to work with since they are already pressed smooth. I found some at a local specialty-woods shop, a real treat of a place that's like walking into a humidor. If no such shop is near you, you may be able to order online. I got a nice piece of burl walnut but unlike most, I went with a piece that is NOT bookmatched, as I thought it had more character.
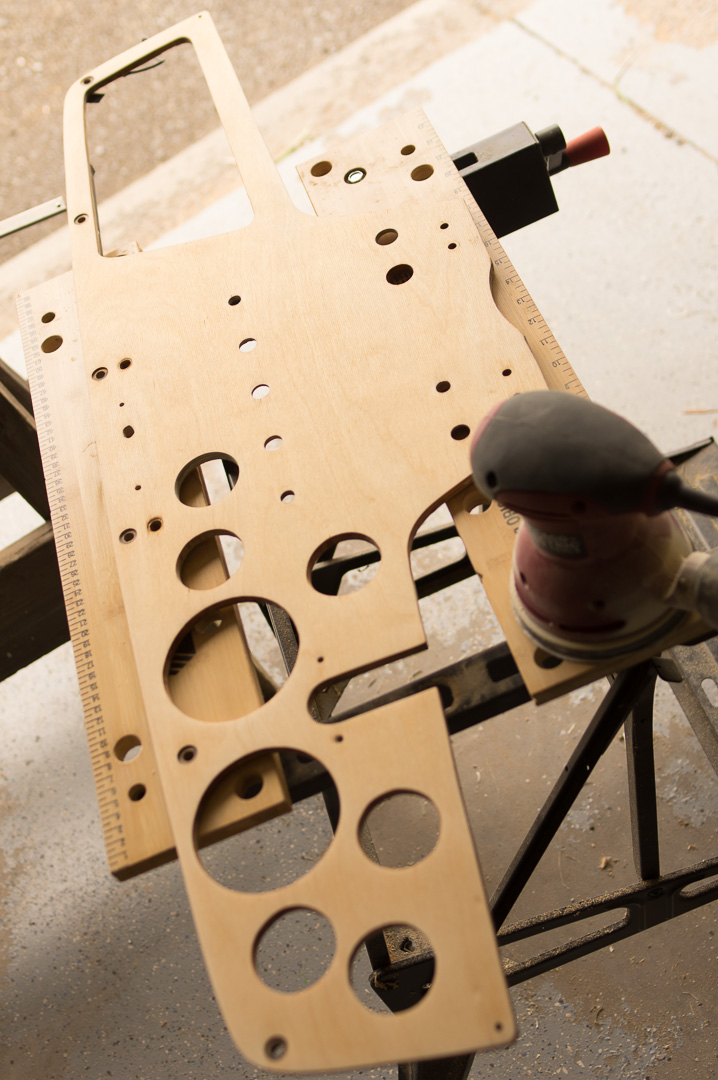
My old veneer was really easy to remove as it it was wrinkling and loosening since the adhesive had degraded into something resembling powdered chalk. A putty-knife dispatched the more resistant bits, then a light sanding cleaned up the plywood.
To apply the veneer, first I eyeballed it to see which orientation and general positioning on the dash would maximise the visual characteristics of the veneer, and traced the dashboard outline on the back of the veneer to align to.
Then I prepared for the job. I did the gluing in a room that had low-pile carpet over a concrete slab floor, and I borrowed a glass table-top from elsewhere in the house and placed that on the carpet for a hard, smooth, flat surface. Then I covered the glass with some plastic sheet, probably not necessary but it couldn't hurt. Then I laid the veneer on the plastic with the pretty side down. The next step was the glue. I used Titebond III on the advice of the shopkeep at the wood place; I don't know if it is available over in your part of the world or what is equivalent if not, but you want a good sturdy wood-glue that won't be much affected by moisture over the long term. I used an old plastic card (any credit card or hotel key-card will do) to spread the glue thinly and evenly, taking care to keep it thin near the edges, especially the edges of holes, so it wouldn't squeeze-out and form a hard blob that could foul the knife during trimming.
Then I placed the glued board face-down onto the veneer, lined up with the edge tracing, and placed a lot of heavy things onto it such as dumbbells and stacks of books. I gave it a couple of days to fully cure.
Trimming was simple- I used an X-Acto-type knife with a #11 blade and went slowly, taking time to let the knife do the work. The veneer is thin enough that one of these hobby knives is all you need to cut out the holes and trim the edges. Just keep the blade as close as you can to perpendicular with the surface and follow the edges. You don't have to be super-close on the first pass, and in fact it is easier to remove rough chunks first then do the fine carving along the edges. I did save the removed bits to use as test-pieces for finishing and labeling.
Minimal sanding is needed with these pre-pressed, backed veneers, but I used some very fine paper to take it from basic smooth to baby-butt smooth.
I did find a spot where a tiny piece of veneer came loose from the backing. The piece was gone, so I made a filler by taking some of the veneer scraps and sanding them to super-fine dust and then mixing that dust with some of the polyurethane finish to form a paste, then using a plastic card to spackle the hole. Once that hardened, light sanding made it perfectly level with the surrounding surface but using the plastic card's edge over it while applying kept that need to a minimum.
I used spray-can polyurethane to finish, and before applying the last couple of coats I applied new labels, which were dry transfers that I had specially made. There's information about that elsewhere in the forum and in the parts for sale section you can find a thread by a guy who used the same supplier and improved on the set I had made, adding some additional details. The supplier who made the transfers should still have the pattern to make more.
One thing to take care about with the finish is to make sure that globs of it don't run over the edges into the holes, as you don't want to make the holes smaller. I made sure that the edges got a basic coat but no more, as the instruments fit rather closely. There's more room around the switches and I did want what would be visible of the edges of their holes to look good so I applied a little more there.
With the finish dry and hardened, I buffed it with a cheep random-orbit polisher and some very fine auto body polishing compound. I didn't go for mirrory perfection as that would be out of place against all the car's other patina, but I got it to the point of looking good.